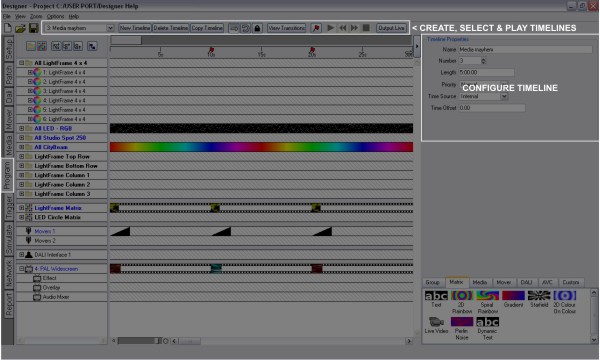
With no presets selected, the Timeline Properties pane is displayed:
Give your timeline a name here, a descriptive name will help you identify the correct timeline when creating basic triggers and viewing the web interface's status and control pages.
Every timeline has a unique number which is primarily for reference but can be changed if necessary. The timeline number is used to identify a timeline for creating advanced triggers, for example when using LUA scripts, and when using the web interface's command line.
The default timeline length is 05:00.00 (5 minutes) and you will need to increase this before placing or extending presets beyond this time. The maximum timeline length is 24 hours to prevent them becoming unmanageable - use triggers to stitch together multiple timelines to create longer time frames.
Use the pull-down to select a priority level for the timeline:
Use the pull-down to select a time source for the timeline to follow:
By selecting one of the six Timecode Buses, the timeline's ruler will display timecode values and the properties pane will give further options:
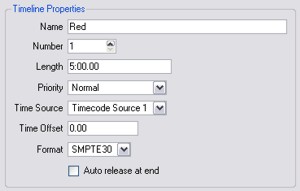
Timelines by default start at 00:00:00.00 (hours:minutes:seconds.frames) but the timecode source may not do so, the tape may have been "striped" with an offset of an hour (01:00:00.00) for example. Enter the source's starting value in this box to synchronise.
Timecode comes in four formats that depend on the source media used, select the appropriate format here (Film24, EBU25, SMPTE30 & NTSC30) to prevent missed frames and stuttering playback.
Check this box if you want the timeline to release, and hence ignore timecode, at the end (the end of the last placed preset or flag). Typically leave it unchecked so that the timeline always follows the timecode regardless of the timecode value which may exceed the end time.
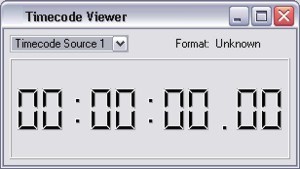
The six Timecode Buses are internal buses to which one patches the external timecode sources available to the system. These may be MIDI timecode (MTC) sources input via one or more LPCs' or RIO As' MIDI Inputs or linear timecode (LTC) sources input via one or more RIO As or LTC Expansion Modules. You can use the Timecode Viewer available from the View menu to monitor each Timecode Bus:
By selecting one of the four Audio Buses, the properties pane will give further options:
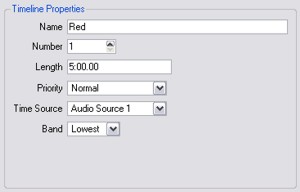
The Audio Expansion Module generates five frequency bands (63Hz, 250Hz, 1KHz, 3.5KHz and 12KHz) and the RIO A can generate up to 30 frequency bands (configured in Remote Device properties). Use this pull-down to select which band will drive the timeline.
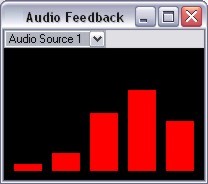
The four Audio Buses are internal buses to which one patches the external audio sources available to the system via one or more RIO As or Audio Expansion Modules. You can use the Audio Feedback window available from the View menu to monitor each Audio Bus:
Use Options > Preferences on the main toolbar and select the Timelines tab to change these defaults. Here you can change the default timeline name and length as well as the length, fade & release time and default crossfade path of newly placed presets. See Preferences.